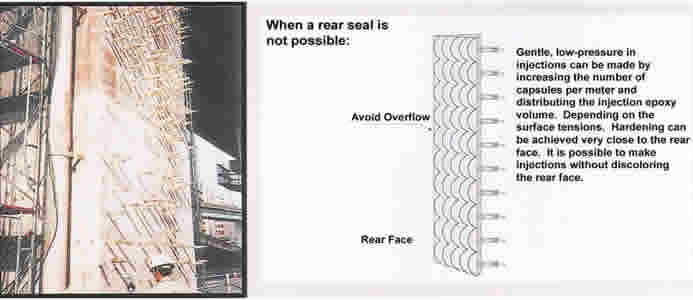
Fracture Survey and
Diagnosis
(1) Visual Inspection
Confirm existence, condition and
location of fractures by visual
inspection or with binoculars.
Inspect fracture distribution at
this time. Be careful not to overlook
fractures in dark or paint-covered
locations.
(2) Fracture Width Inspection
Make accurate measurements of
fracture width using the 7x
Fracture Magnifier with
attached illumination.
Calculate fracture width as the average
of several width measurements
taken at different locations.
(3) Fracture Length Inspection
Measure the length of the fracture
using a walking measure.
(4) Concrete Thickness Inspection
Refer to structural plans or make
onsite measurements.
(5) Drawing up a schedule.
Prepare a diagram of fracture
distribution, etc..
(6) Diagnosis and Consultation
(7) The Microcapsule Method.
<Important Survey and Diagnosis
Points>
Watch for fractures beneath
painted surfaces.
Because fracture width may vary
between the surface and the inside
of the concrete, removal of paint
may be necessary for accurate
measurements.
|
The Standard Fracture Injection Procedure
(1) Preparing the Surface
Remove dust, dirt, oil and paint from the
area around the fracture. Expose the stable
face and verify the surface is dry.
(2) Choosing the Injection Locations
As much as possible, choose injection
locations which are easily accessible and
evenly spaced. The standard spacing is 4-5
injectors per meter.
(3) Mounting the Pedestals
Mix the pedestal adhesive thoroughly while
maintaining the proper mix ratio. Be careful
of the workable life. Mix batches which can
be fully applied within the
workable life. Apply the adhesive in a
donut shape to avoid blocking the pedestal's
central hole. Center the pedestal over the
fracture and mount so that the adhesive will
not block the injection site.
|

